
Winged liner and Hot Pink lips with your LBD!
I am obsessed with black and white. My wardrobe always has a good number of dresses, skirts, trousers, tops in black and white. With the winter (whatever we get of it ) soon approaching, my eyes can only see black when I am out shopping. And why not, ‘One is never over-dressed or underdressed with a Little Black Dress’ innit. The only thing though about being so obsessed with a color is that you don’t want to run the risk of looking the same every time you step out. And that’s where I try making magic with my fingers and playing with my Makeup and brushes.
Usually, I’d pair my LBDs with red lips or super smokey eyes and nude lips. And then I thought, no, not tonight – neither of them. And I picked the brightest pink I could find in my stash of lipsticks, a shade that I normally reserve for bright sunny days and decided to wing my eyeliner. Just so that you know, I wasn’t a fan of the winged liner for the longest time because it just took a lot of time and I would never get it right. But throwback to that one time I nailed it, and it was days filled with wings of different lengths and breadths thereafter.
On today’s post, I am sharing a few tips for sporting that wing – hacks on how to do it, the variations and what to pair it with.
1. Getting the wing right
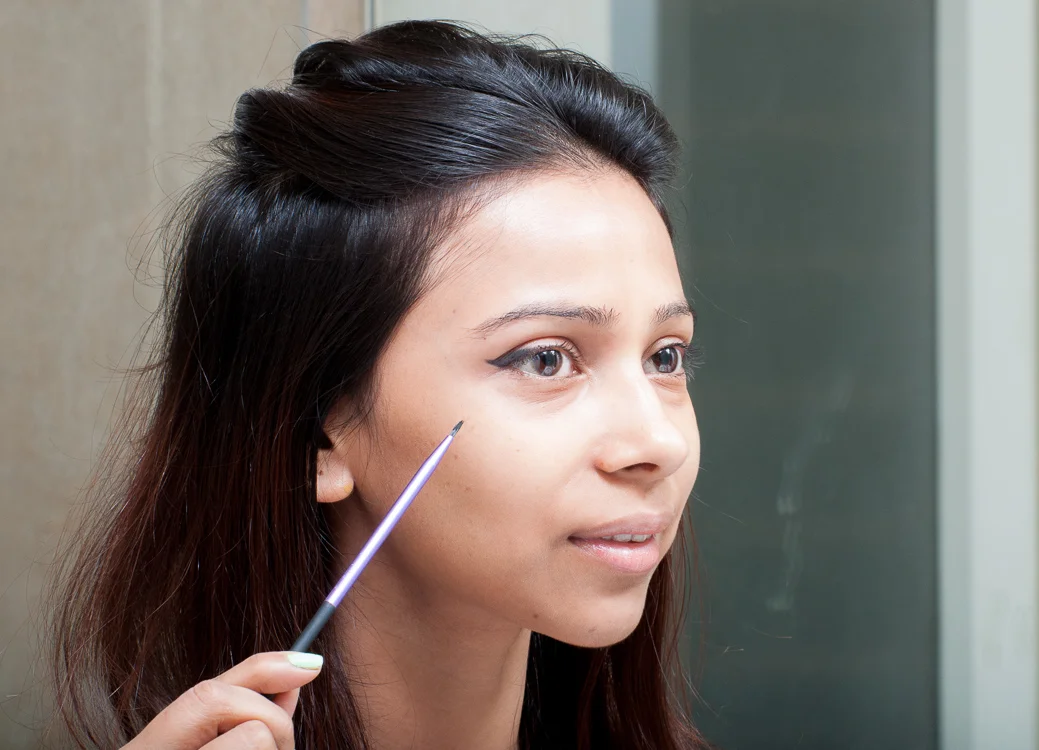
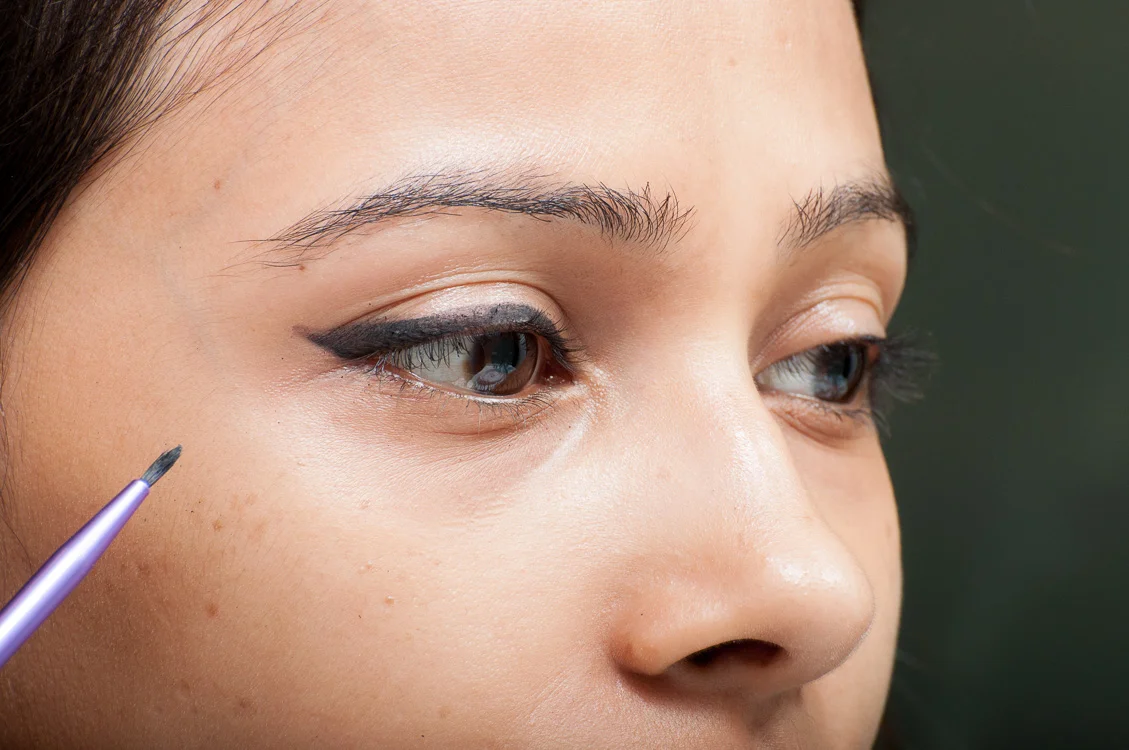
For a regular line that follows the shape of my eyes, I like to start from the inner corner of the eye. But for a winged liner, I start at the outer corner of the eye by drawing a diagonal line towards the end of my eyebrow, stopping at the tip where my crease starts. To get the angle right, draw the line as an extension of your lower lash line, up and out. Now, draw another line from your upper lash line which meets the first line, which will give you an empty triangle at the corner of your eye.


Fill in the triangle and the extend the line to the inner corner of the eye. I like to reduce the thickness of the line as I go towards the inner corner, so the line is barely there in the inner corner and is at its thickest in the outer corner of the eye. And we are done :-)

Getting the line and the wing 'even' on both the eyes is a task for beginners, but trust me, with practice, it will be a piece of cake. You could always use Q-tips to tweak the line and clean up.
As for the products that I use, I always start with a gel liner and an angled brush which helps me in slowly building the wing with short feathery strokes. You could use a pencil too instead of the gel. If I need a glossy finish or further intensify the liner, I go over the gel liner with a liquid liner.

2. Variations
The length of the wing is based on individual preferences. Stopping at the crease is subtle, you may go up to the brow bone for more drama, never beyond that. When it comes to thickness, it can vary from a skinny line to Amy Winehouse – style thick wings. You could also do a short angled wing and go graphic.
Alternatively, do a dual liner. Trace your winged liner with another line in a peppy color like aqua blue or yellow for a fun sporty look or shades of gold or bronze for retro glamour.
For a day look, I’d suggest a crisp, clean, traditional winged liner. For the night, you could further intensify a smoky eye with a smudged out winged liner.
3. Pair it with
What a winged liner gives you is ultimate classic glam. And it’s so versatile that you can wear it differently, changing around the rest of your makeup. It’s your perfect and crisp eye look while wearing bright and bold lips. Line your lower lash line with a winged liner and wear neutral lip colors for an effortless everyday look. Shimmery shadows go well with a traditional winged liner, neutral shades work well too in accentuating the simplicity of a winged liner.
If you haven't nailed a wing yet, you should give it a try - it is classic and here to last. Have left you with something to try this weekend chicas :-).
And as they say - Just Wing it. Life, Eyeliner, Everything. Bon weekend ladies! xoxo

